Gaming VPN Setup on Linux: Your 2026 Guide

A gaming VPN on Linux is a configured network tunnel that encrypts your connection, routes traffic through a chosen server, and reduces latency by placing your exit point closer to game servers. For Linux gamers, the gaming VPN setup on Linux process splits into two clear paths: a graphical client like Proton VPN or NordVPN for desktop environments, or a command-line tool like WireGuard’s "wg-quick` for headless systems. WireGuard is the protocol of choice here. Its kernel-level integration means lower overhead than OpenVPN, which translates directly into faster, more stable connections during gameplay. This guide walks you through every step, from prerequisites to advanced configurations like split tunneling and kill switches.
What tools and system requirements do you need for Linux gaming VPN setup?
Before you touch a config file, you need to confirm your system is ready. Missing a kernel version or a package dependency will stop you cold.
Kernel and distro compatibility
WireGuard is built into the Linux kernel from version 5.6 onward. If you are running Ubuntu 20.04, Fedora 32, Debian 11, or anything newer, you already have it. Older distros need a manual kernel module install via wireguard-dkms. Check your kernel with uname -r before starting.
Required software
| Software | Purpose | Install command (Ubuntu/Debian) |
|---|---|---|
wireguard-tools |
WireGuard key generation and tunnel management | sudo apt install wireguard |
iptables or nftables |
Firewall rules and kill switch | Pre-installed on most distros |
| Proton VPN GUI | Graphical client for GNOME/KDE desktops | Download .deb from protonvpn.com |
| NordVPN CLI | Command-line client for headless servers | Install via NordVPN’s official script |
resolvconf |
DNS leak prevention | sudo apt install resolvconf |
You also need root or sudo access. Without it, you cannot write to /etc/wireguard/, configure firewall rules, or enable IP forwarding. Gaming-specific considerations include opening UDP port 51820 for WireGuard traffic, since UDP delivers lower latency than TCP for real-time game data.
Key prerequisites at a glance:
- Linux kernel 5.6 or newer (or
wireguard-dkmsfor older systems) - Root/sudo access
- UDP port 51820 open in your firewall
- A VPN provider account (Proton VPN, NordVPN, or a self-hosted WireGuard server)
resolvconfinstalled to prevent DNS leaks
How to choose between GUI and CLI VPN clients for Linux gaming
The right client depends on your desktop environment and how you access your machine. Getting this wrong means fighting your tools instead of your opponents.
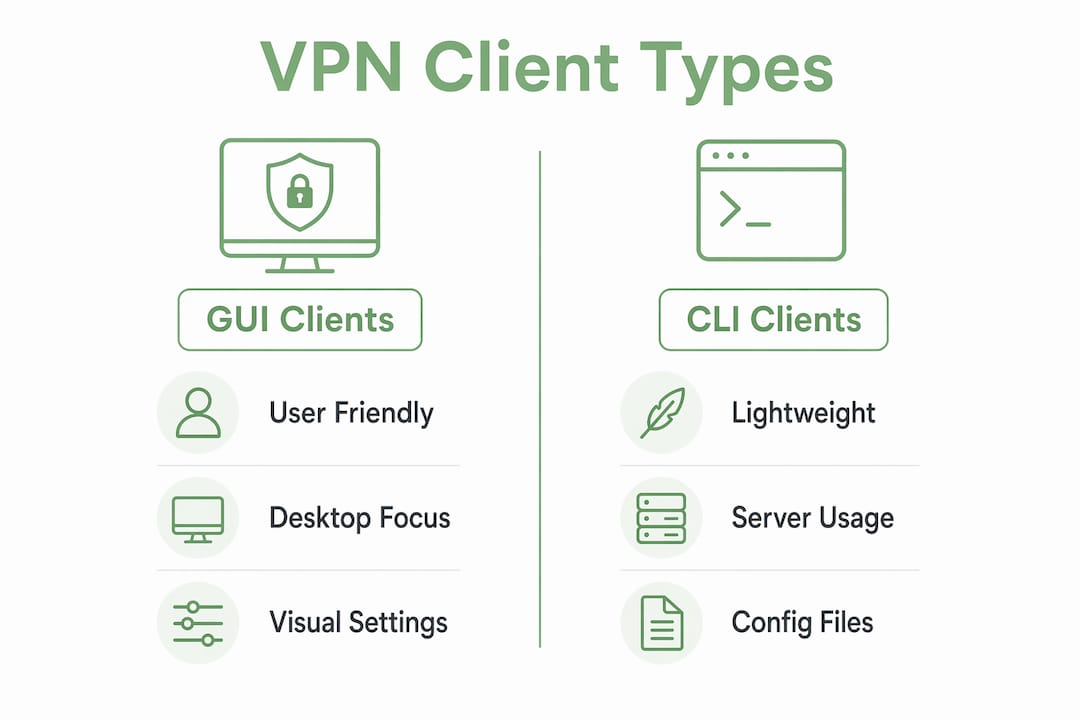
GUI and CLI options exist for both Proton VPN and NordVPN, and each suits a different Linux setup. Desktop users running GNOME or KDE get the most from a graphical client. Proton VPN’s GTK app and NordVPN’s GUI let you switch servers, toggle split tunneling, and monitor connection status without touching a terminal. That convenience matters when you want to hop between server regions to find the lowest ping before a match.
Headless servers and SSH-only environments are a different story. Running a GUI client on a machine with no display server wastes resources and often breaks entirely. CLI tools like wg-quick and the NordVPN CLI are purpose-built for this. CLI tools on headless Linux avoid conflicts with desktop assumptions and deliver more reliable VPN behavior for gaming servers. NordVPN’s CLI is particularly polished, with clean syntax and solid documentation. Proton VPN’s CLI matches it in capability.
Feature differences between GUI and CLI are real but manageable:
- GUI clients offer one-click server switching and visual connection status
- CLI tools give you finer control over routing tables and DNS settings
- Split tunneling is available in both, but configuration steps differ
- Kill switch behavior is more transparent and customizable in CLI/WireGuard setups
Pro Tip: If you game on a desktop but also run a dedicated game server on a headless box, use the GUI client on your desktop and wg-quick on the server. Mixing approaches per machine is the right call, not a compromise.
Step-by-step guide to setting up WireGuard VPN for gaming on Linux
WireGuard setup on Linux takes under 15 minutes once you have your keys and config file ready. Follow these steps exactly.

Step 1: Install WireGuard tools
sudo apt update && sudo apt install wireguard
Step 2: Generate your key pair
wg genkey | tee privatekey | wg pubkey > publickey
Run this on both your server and client. Keep private keys private. Share only public keys.
Step 3: Configure the server
Create /etc/wireguard/wg0.conf on your server:
[Interface]
Address = 10.0.0.1/24
ListenPort = 51820
PrivateKey = <server_private_key>
PostUp = iptables -A FORWARD -i wg0 -j ACCEPT; iptables -t nat -A POSTROUTING -o eth0 -j MASQUERADE
PreDown = iptables -D FORWARD -i wg0 -j ACCEPT; iptables -t nat -D POSTROUTING -o eth0 -j MASQUERADE

[Peer]
PublicKey = <client_public_key>
AllowedIPs = 10.0.0.2/32
Step 4: Configure the client
Create /etc/wireguard/wg0.conf on your gaming machine:
[Interface]
Address = 10.0.0.2/24
PrivateKey = <client_private_key>
DNS = 1.1.1.1

[Peer]
PublicKey = <server_public_key>
Endpoint = <server_ip>:51820
AllowedIPs = 0.0.0.0/0
PersistentKeepalive = 25
Step 5: Enable IP forwarding on the server
echo "net.ipv4.ip_forward=1" | sudo tee -a /etc/sysctl.conf
sudo sysctl -p
Step 6: Start and verify the tunnel
sudo wg-quick up wg0
sudo wg show
You should see your peer listed with a valid handshake timestamp. If not, check that UDP 51820 is open in your firewall.
For split tunneling, change AllowedIPs on the client to route only game server traffic through the VPN. For example, routing only a specific game server subnet:
| Config option | Full tunnel | Split tunnel (game traffic only) |
|---|---|---|
AllowedIPs |
0.0.0.0/0 |
203.0.113.0/24 (game server IP range) |
| DNS leak risk | Low with resolvconf |
Higher, requires careful DNS config |
| Latency impact | Moderate | Minimal, only game traffic tunneled |
Advanced VPN configurations for Linux gamers: split tunneling and kill switch
Once your tunnel is running, two features separate a basic VPN setup from one actually optimized for gaming: split tunneling and a kill switch.
Split tunneling on Linux
Split tunneling routes only selected traffic through the VPN while the rest goes directly to the internet. For gaming, this means your game client uses the VPN’s optimized path while your browser or Discord stays on your regular connection. Proton VPN’s split tunneling on Linux requires a paid subscription and can only be configured while disconnected from the VPN. The UI widgets for split tunneling are disabled during an active connection, so plan your configuration before connecting.
A known quirk: split tunneling sometimes routes all traffic through the VPN even after you configure exclusions, because active connections re-route before settings apply. The fix is straightforward. Restart the affected apps after the VPN connects, and the routing corrects itself.
With WireGuard, split tunneling is cleaner. You control it directly in AllowedIPs. Listing only your game server’s IP range there means only that traffic enters the tunnel.
Kill switch setup with WireGuard
A kill switch blocks all internet traffic the moment your VPN drops. Without one, a disconnection exposes your real IP to game servers and potentially triggers IP bans. WireGuard kill switch implementation uses blackhole routes and iptables rules, activated through lifecycle hooks in your config.
Add these lines to your client’s wg0.conf:
PostUp = ip route add blackhole default metric 1
PreDown = ip route del blackhole default metric 1
This creates a blackhole route with a lower metric than your default gateway. If the WireGuard tunnel drops, traffic hits the blackhole instead of leaking through your real connection. Proper kill switch setup requires both the blackhole route and iptables rules working together. The PreDown hook is critical. Without it, the blackhole route persists after you intentionally disconnect, cutting off all internet access.
Common pitfalls to avoid:
- Forgetting
PreDownleaves you with no internet after disconnecting - Setting MTU too high causes packet fragmentation and gaming stutter. Test with
ping -M do -s 1400 <server_ip>and adjustMTU =in your config - Using TCP-based VPN protocols for gaming adds latency. Stick with UDP
Pro Tip: Tune your WireGuard MTU by testing with progressively smaller packet sizes using ping -M do. Most gaming tunnels perform best between 1280 and 1420 bytes. Finding your exact number cuts stutter noticeably.
Key takeaways
A gaming VPN on Linux performs best when you match your client type to your environment, use WireGuard for its kernel-level speed, and layer in split tunneling and a kill switch for both performance and security.
| Point | Details |
|---|---|
| Match client to environment | Use GUI clients on GNOME/KDE desktops; use wg-quick or CLI tools on headless servers. |
| WireGuard is the fastest protocol | Kernel integration gives WireGuard lower overhead than OpenVPN, reducing gaming latency. |
| Split tunneling targets game traffic | Configure AllowedIPs in WireGuard or use Proton VPN’s paid split tunneling to isolate game traffic. |
| Kill switch prevents IP leaks | Blackhole routes with PreDown hooks block traffic instantly if the VPN drops. |
| MTU tuning reduces stutter | Test packet sizes with ping -M do and set MTU between 1280 and 1420 for stable gaming tunnels. |
Why I stopped overthinking Linux VPN setup and just picked a protocol
I spent an embarrassing amount of time early on trying to make OpenVPN work well for gaming on Linux. The config was familiar, the documentation was everywhere, and I kept convincing myself the latency was acceptable. It wasn’t. Switching to WireGuard was the single biggest performance improvement I made, and it took less time to configure than any OpenVPN setup I had ever done.
The GUI versus CLI debate is real, but people overcomplicate it. If you can see your desktop, use the GUI. If you’re SSH’d into a box, use the CLI. The performance difference between them is negligible. What matters is that your chosen tool doesn’t fight your environment.
Split tunneling is where I see most Linux gamers make mistakes. They either skip it entirely and wonder why their VPN slows down their streams, or they configure it and forget to restart their apps, then assume it’s broken. It’s not broken. It just needs that restart. The Proton VPN split tunneling quirk is documented, predictable, and easy to work around once you know about it.
My honest advice: set up WireGuard manually at least once, even if you end up using a managed client long-term. Understanding what AllowedIPs actually does, and how PostUp and PreDown hooks fire, makes you a much better troubleshooter when something goes wrong at 11pm before a tournament.
— Darius Helzinski
Why Rapidrabbit is worth a look for Linux gamers
If you want the performance benefits of WireGuard without building your own server from scratch, Rapidrabbit is worth your time. Rapidrabbit runs on WireGuard natively, which means you get the same kernel-level speed and low overhead this guide covers, without managing keys and firewall rules yourself.

Rapidrabbit supports Linux, Windows, and Android, so your setup travels with you whether you’re gaming at home or on public Wi-Fi at a tournament venue. The how it works page explains the connection flow clearly, including how Rapidrabbit routes your traffic to reduce congestion and place your exit point closer to game servers. For Linux gamers who want the speed of WireGuard and the simplicity of a managed service, Rapidrabbit VPN is a practical next step.
FAQ
What is the best VPN protocol for gaming on Linux?
WireGuard is the best protocol for Linux gaming because its kernel integration delivers lower latency and less overhead than OpenVPN or IKEv2. Most major Linux VPN clients, including Proton VPN and NordVPN, support WireGuard natively.
Do I need a GUI client or CLI tools for Linux VPN gaming?
GUI apps suit GNOME/KDE desktops, while CLI tools like wg-quick are the right choice for headless or SSH-only servers. Both deliver equivalent gaming performance when configured correctly.
How do I stop my real IP from leaking if the VPN drops?
Add a blackhole route using WireGuard’s PostUp and PreDown lifecycle hooks in your wg0.conf. This kill switch blocks traffic instantly when the tunnel drops, preventing your real IP from reaching game servers.
Does split tunneling work on Linux with Proton VPN?
Yes, but only on paid plans and only when configured while disconnected. If your game still routes all traffic through the VPN after enabling split tunneling, restart the game client. This resolves the active connection re-routing issue documented in Proton VPN’s Linux client.
Can I use a gaming VPN on Android or Windows with the same setup?
WireGuard configs are portable across platforms. The same server config works for gaming VPN setup on Android and Windows clients, though you will need platform-specific apps. Rapidrabbit covers Linux, Android, and Windows from a single account.